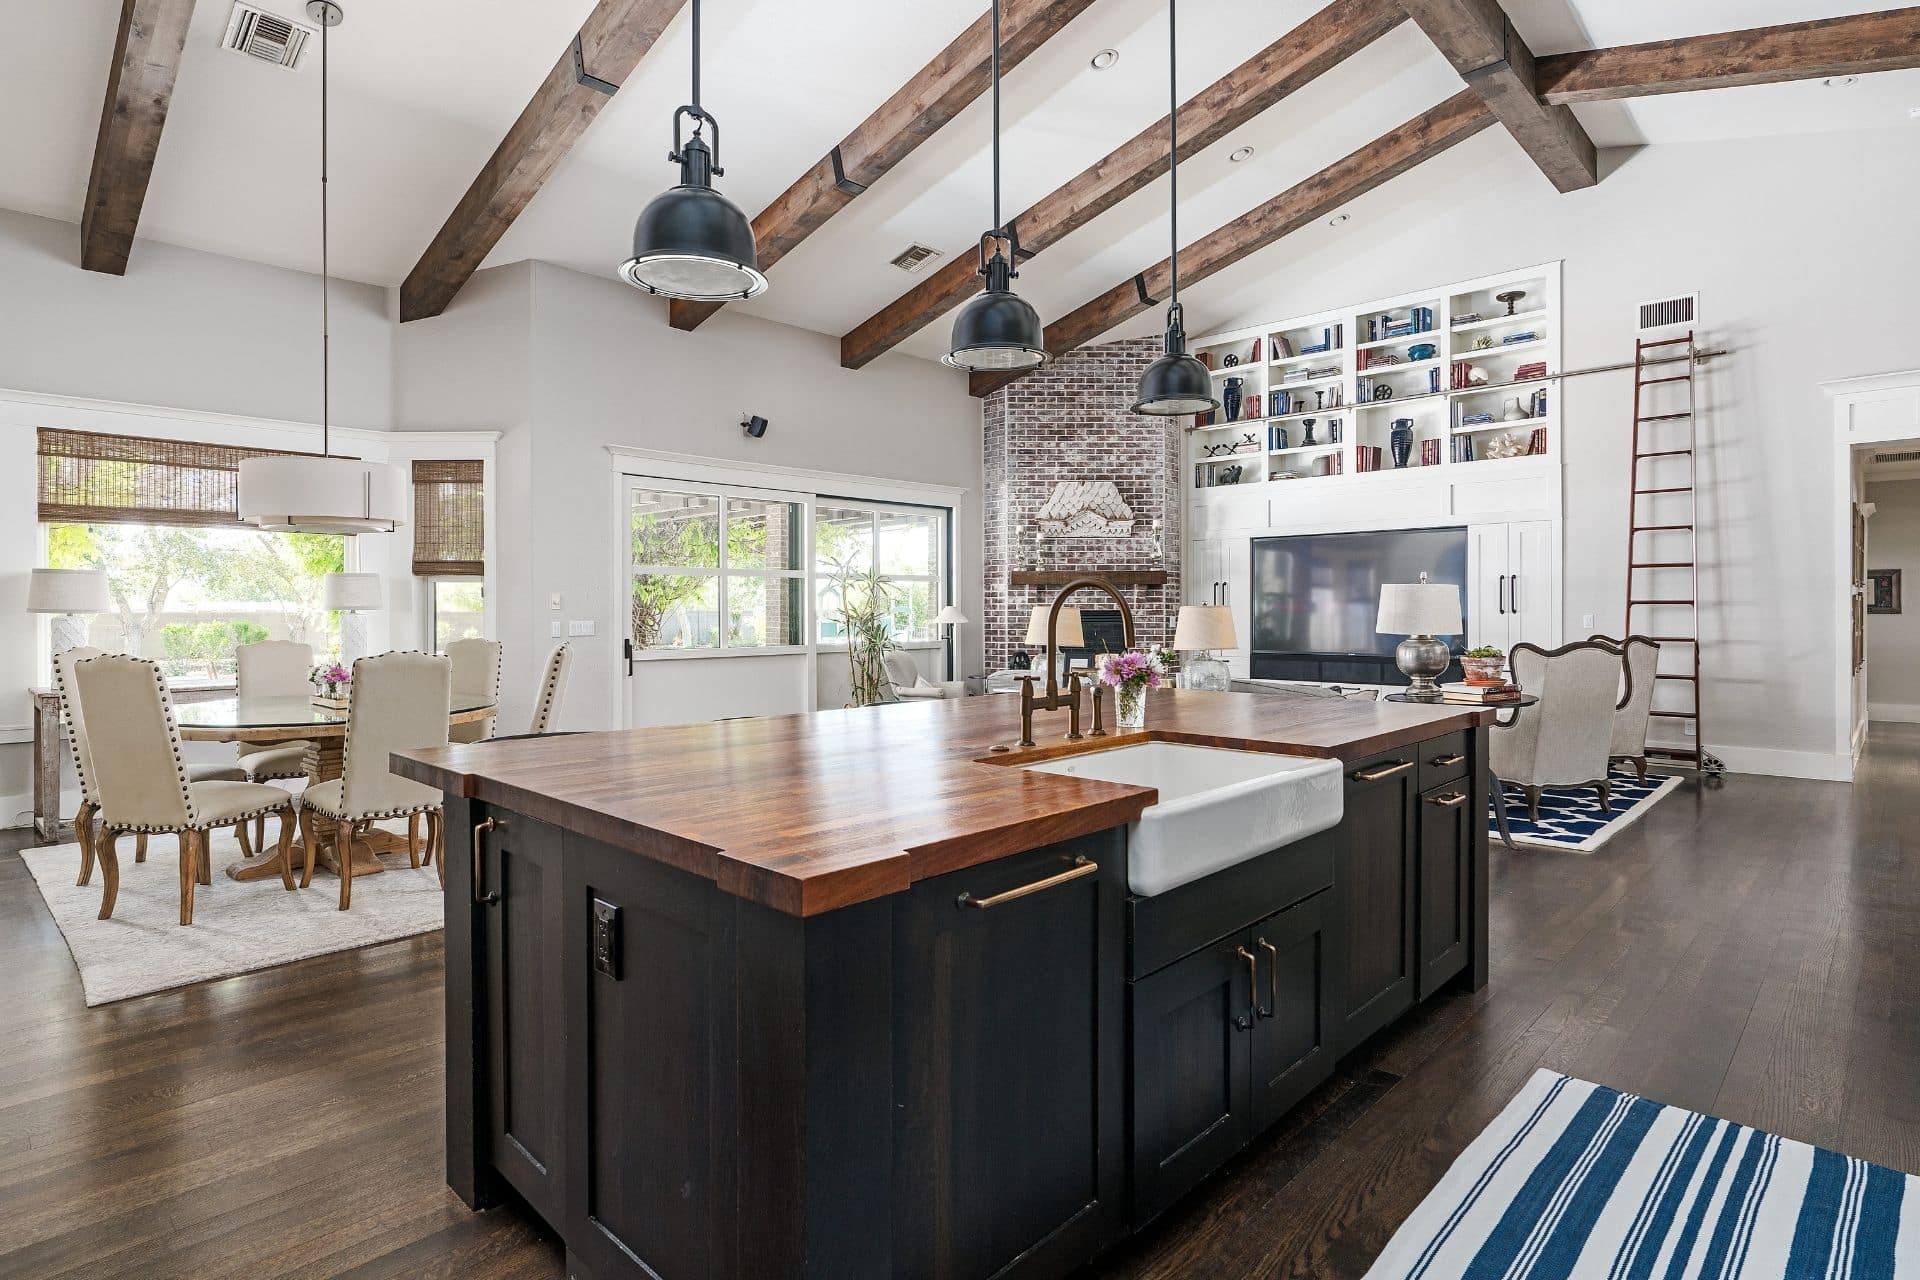
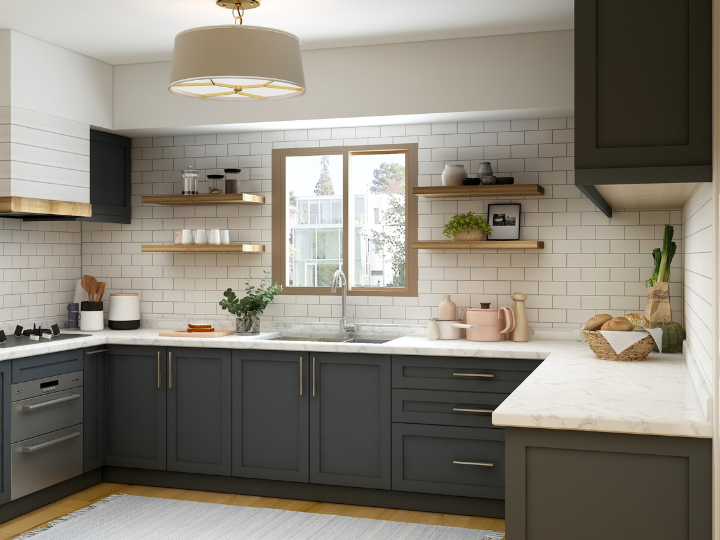
How to Renovate Old Kitchen Cabinets
If you want to give a new look to your old kitchen, there are some important things to pay attention to in this regard. Let’s examine them closely.
Repainting Old Kitchen Cabinets
Repainting old kitchen cabinets is a great way to improve the look of your kitchen without having to spend a lot of money. The process can be time-consuming, but the results are worth it. Before you start painting, sand the surfaces and use wood filler if necessary. After applying the wood filler, wipe the surfaces down with a damp cloth or lint-free tack cloth. This helps to remove any dirt or debris from the surfaces, which can get into the paint.
Painting kitchen cabinets is not difficult, but you should follow all the steps in the process thoroughly. There are no shortcuts, and this is not a project for an inexperienced do-it-yourselfer. However, with a little determination, you can tackle the project in a weekend. How long the project will take will depend on how many cabinets you plan to paint and how fast you can work.
Before you begin painting, make sure you have a work area with ample space to avoid paint drips. It also helps to set up a work table. The table should be sturdy and level so that you can support the weight of the cabinets. Ideally, you can use an existing kitchen table. You can also cover the table with a drop cloth or old newspaper. This will prevent paint splatters on the table.
Once the primer has dried, you can paint the interiors of the cabinets. Use a brush or a roller to apply the primer. Allow the primer to dry completely, and then apply a second coat of paint. This second coat will ensure a smooth finish without any wood showing through.
Before painting, make sure you choose a high-quality paint. A quality paint will make it easier to wipe clean. You may want to choose a semi-gloss or satin paint to ensure an even finish. A good paint will take about a day to dry completely. However, if you choose a glossy paint, you should plan to spend at least a couple of days on the project.
Painting kitchen cabinets is a great way to update your kitchen without spending a fortune. However, if you don’t have the time to complete it, you may want to hire a professional. Generally, a single gallon of paint will cover two cabinets.
Replacing cabinet doors
Replacing cabinet doors when renovating old cabinets is a relatively easy task if you’re able to follow some basic steps. First, you need to remove the existing cabinet doors and hinges. Next, you need to measure the locations of the hinges and the new door’s openings. To do this, you can follow the instructions from Fast Cabinet Doors, which offers a handy guide for measuring and calculating the dimensions of your cabinets.
There are a few reasons why you should consider replacing the cabinet doors when renovating old kitchen cabinets. For one, it will make a big impact on the overall look of the room. Replacing the doors will also make the cabinets more modern and sleek. Replacing the cabinet doors will give your kitchen a new facelift and give the entire area a fresh new feel.
Secondly, refacing your cabinets can save you a significant amount of money. The average cost of fully custom and semi-custom kitchen cabinets range from $3,200 to $8,500, but you can save a significant amount of money by replacing just the cabinet doors.
Finally, refacing your cabinets is a relatively easy way to give your kitchen a new look and save money. This involves the removal of the old cabinet doors, drawer fronts, end pieces, and hinges. HomeGuide estimates that refacing cabinets can cost between $4,200 and $8,100. If you choose to use a wood veneer, it will cost about $2,500 to $6,500. This material is more expensive than laminate, but it’s more durable.
Repainting wood faces
Repainting wood faces on old kitchen cabinet doors can be a daunting project. Fortunately, there are a few simple steps you can take to ensure the results are as beautiful as you want them to be. Before you start, however, you need to prepare the cabinet doors. Firstly, you must make sure that they are completely dry. Afterwards, apply two coats of paint. You should wait 24 hours between each coat to allow the paint to dry thoroughly.
Once you have cleaned and degreased your cabinets, you can begin the painting process. You should use a degreasing cleaner on the wood to improve paint adhesion. You should also fill any holes with wood filler and allow the wood to dry completely.
When painting the cabinet wood faces, you should start by painting the inside edge first, then the outer edges and cabinet boxes. This will help you avoid drips and ensure a smooth finish. Once the first coat is dry, you should repeat the process for the other side. It is advisable to apply two thin coats of paint because they will provide better coverage and finish.
To protect yourself from the fumes while painting the cabinets, set up a work area outside. Make sure the workspace is ventilated and has a heater. You can also set up a work station in an unused room or garage. If there is no suitable space in your home, lay down a sheet of plastic on the floor and set up a work table. Your tools should be handy and close by so you don’t have to move them.
Before you begin painting the cabinet, you need to remove the cabinet doors. It will give you access to all the surface area. The removal of the doors will not only save time, but also give you the opportunity to paint a bolder free-form look. To remove the doors, use a manual screwdriver or drill. After removing the doors, you must remove all the hardware and drawers before you start painting the cabinet wood faces.
Working with a contractor
If you’re planning to update your old kitchen cabinets, you may want to consider working with a contractor. A contractor can help make the entire process go more smoothly by sourcing the materials, setting a timeline, and hiring subcontractors for the project. They can also negotiate the best deals on materials, which can save you money in the long run.
Most professional contractors will have a timeline and checklist for the entire project. It’s a good idea to keep track of what’s still to be done, whether it’s installing a new sink or a new faucet. Professionals will have their own timelines and checklists, but it’s also helpful to make a list of things you want to do yourself to keep things on track. Some contractors also prefer to handle flooring installation before cabinetry installation, while others will wait until the cabinetry is installed. This choice can vary from job to job, so it’s important to talk to them about the details of your plans.
Before you begin the remodeling process, you’ll have to remove your old cabinets. If you don’t want to do it yourself, a remodeling contractor will be able to safely remove the old cabinets, including any pipes or other fixtures. A licensed contractor can also help you remove hidden pipes.
Unless you have experience remodeling kitchens Dale City, working with a contractor is a great option. General contractor firms are made up of professional builders and contractors who specialize in major home renovation projects. Working with a contractor removes the hassle of handling the project and lets you focus on your kitchen’s aesthetics. To find a reliable contractor, take the time to research and read online reviews.
We invite you to work with Build Design Center with our long-term experience and high-quality business understanding.You can contact us on our website or via our phones.